 |
|
 |
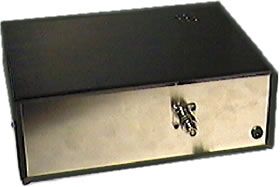
1) Front panel, with
SO239 socket (with dummy load supplied with the kit connected), and power
socket.
|
|
2) Rear panel with phono
socket for audio input. The box is a little over sized, but I intend on
installing another PCB in the not too distant future!
|
 |
|
 |
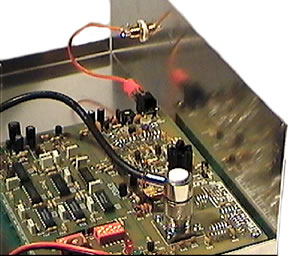
| 3) The inside view :) Mounted on
ordinary PCB fasteners. Each connection to the board is effectively doubled
up, so that the kit stays in one piece.
|
|
4) The back of the front panel.
I used RG58U for the short distance inside the box, as the larger RG213
used for the antenna is impractical in a tight space.
|
 |
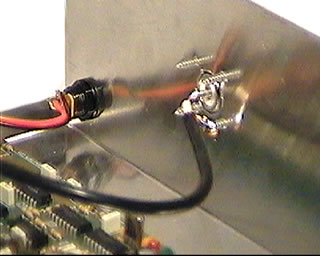
5) The back of the rear panel. A good quality right-angled PL259
plug comes in handy here, so you aren't forcing a bend in the coax
when the lid is replaced.
|
|
|
Shopping List
I ordered my parts from Maplin (UK), but any good electronics supplier
should hold these items in stock:
|
| Item |
GBP |
| SO 239 Panel Mount Socket |
� 1.29 |
| Right-Angled PL259 Plug |
� 1.49 |
| Gold Plated Panel Mount Phono Socket |
� 1.99 |
| M3 10mm Spacers (Pack of 4) |
� 1.39 |
| Gold Plated Phono Plug |
� 0.99 |
| RG58U Coax (Price per metre) |
� 0.49 |
| OFC Audio Cable (Price per metre) |
� 0.49 |
| Aluminium Enclosure |
� 8.99 |
| 2.5mm Panel Mount Power Socket |
� 0.49 |
| Total cost of parts (inc VAT)
|
�
17.61 |
|